Your Current Trip
The Pack tab always shows your Active trip. If no trip is set to Active, the tab shows a “No Active Trip” message with instructions to go set one in the Trips tab. The Pack header shows:- Your trip name
- A subtitle with the total item count and number of bags
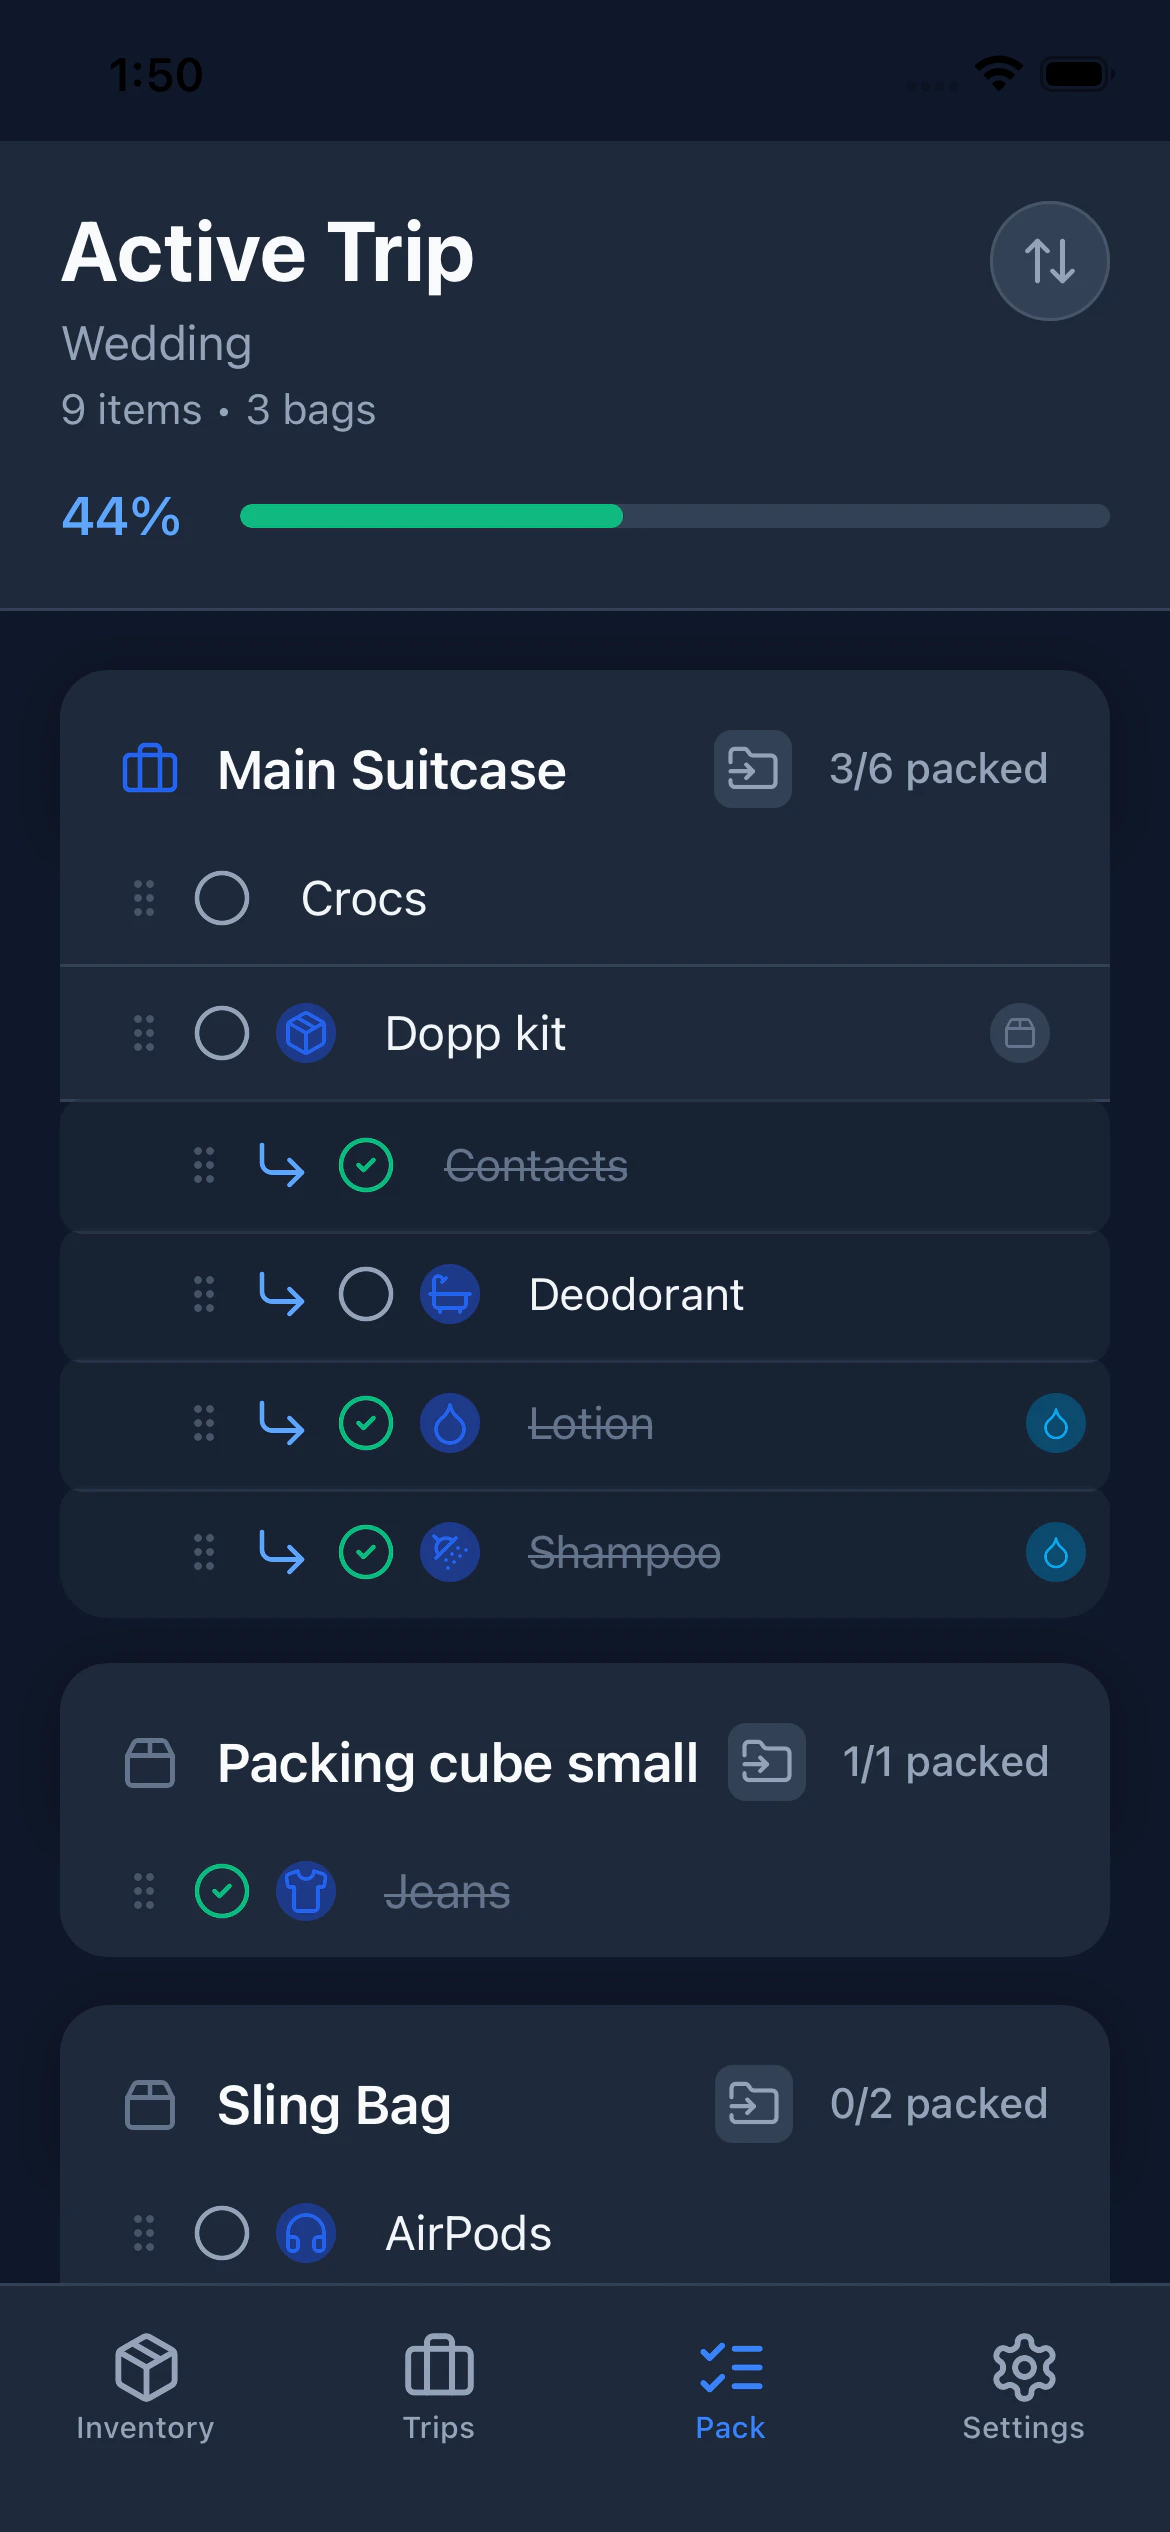
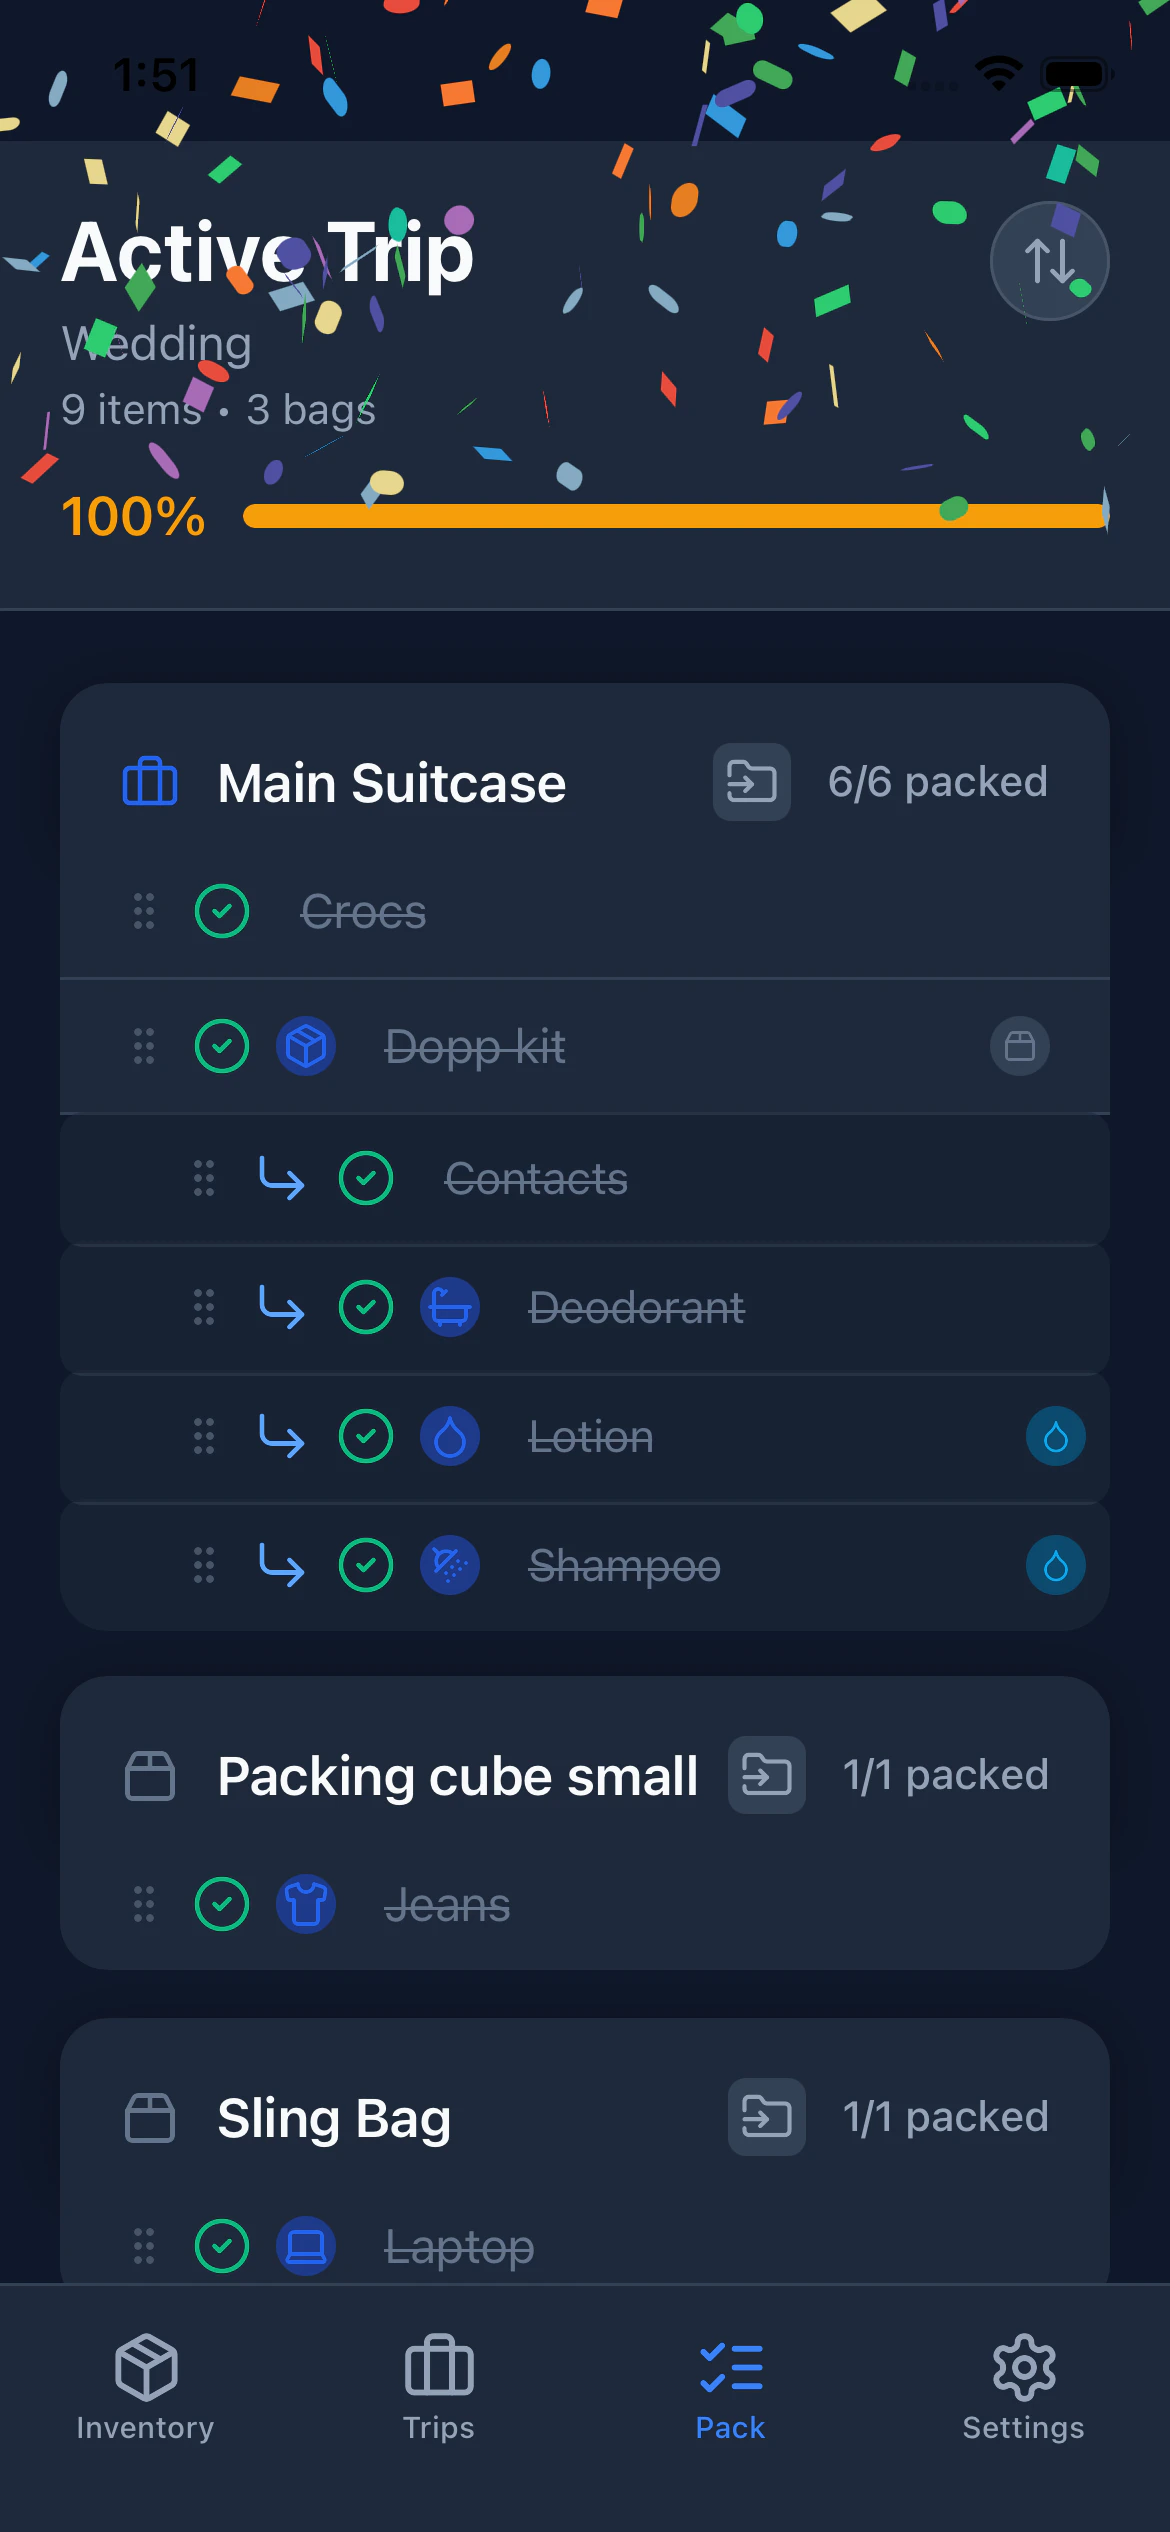
The Progress Bar
At the top of the Pack view, a progress bar shows how many items you’ve packed out of the total. The bar fills as you check items off. When you reach 100%, every item is packed and PackKit celebrates with confetti and a gold progress bar.Packing containers (bags) themselves don’t count toward the total — only the items inside them do. So checking off your last bag won’t trigger confetti if there are still unpacked items inside it.
Checking Items Off
Tap the checkbox next to any item to mark it as packed. Tap again to unpack it. Each interaction gives you haptic feedback for a tactile response without looking at the screen, which is especially useful when you’re physically packing.Container Types and Colors
PackKit automatically styles container section headers based on the icon you chose for that inventory item:
The color is a visual hint only. The container type label is always shown as text in the header.
How Items Are Organized
The packing list mirrors the container structure you set up in the trip:Sorting and Reordering
Tap the sort button in the top-right of the Pack view to cycle through three modes:
The sort button highlights when you’re in an alphabetical mode.
Drag and Drop (Custom mode only)
- Switch to Custom sort mode.
- Press and hold the grip handle (six dots) on the left side of an item.
- Drag it to a new position.
- Release to drop.
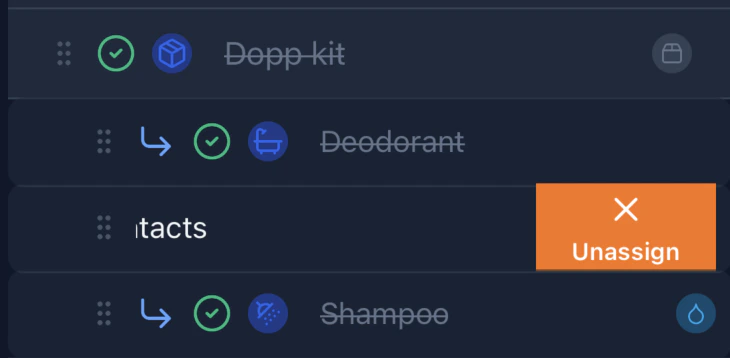
Swipe Actions on Items
Swipe right on any item to reveal a quick action:- Unassign (orange — on items inside a container): moves the item back to the Unassigned section. Reversible.
- Assign (blue — on unassigned items): opens a modal to pick which container to move it to.
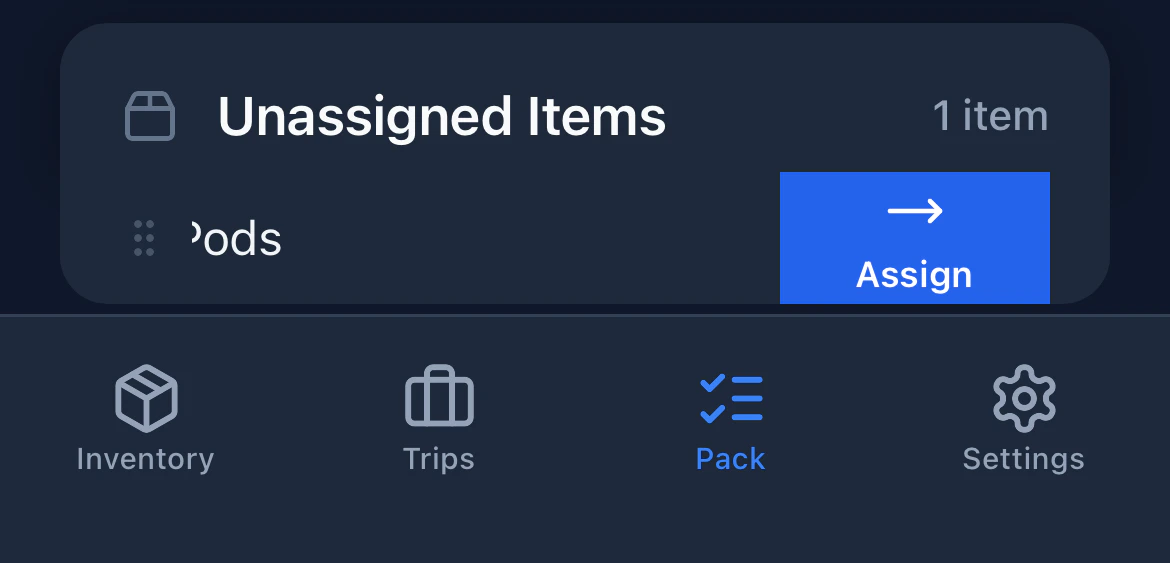
- Remove (dark red): deletes the item from your active trip. The item remains in your inventory and can be re-added from the Trips tab.

Swipe Actions on Bag Headers
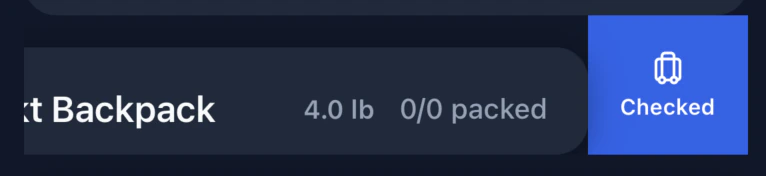
Bag section headers have their own swipe gestures, separate from item swipes. Weight indicators and bag type (checked vs. carry-on) are part of the Weight Tracking Pro feature. Swipe right on a bag header to reveal the Move action (gray). Tap it to open the container picker and reassign the bag.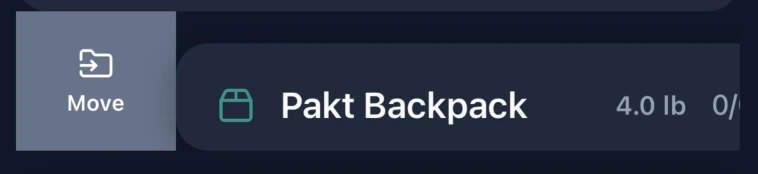
- Checked (blue): tap to mark the bag as a checked bag, applying your trip’s checked bag weight cap.
- Carry-on (teal): tap to mark the bag as a carry-on, applying your trip’s carry-on weight cap.
Liquid Items
Items marked as Liquid in your inventory show a visual indicator in the packing list, reminding you to pack them in your quart-size TSA bag or handle any relevant shipping restrictions.Tips for Efficient Packing
- Use containers that match your real bags. Create a “Suitcase” and “Carry-on” in your inventory so your digital packing list mirrors how you physically pack.
- Pack from the bottom up. Check off items as you place them in the bag. Don’t pre-check.
- Leave liquids for last. They’re easy to forget and often packed separately.
- Save the list as a template when you’re done if it was a good packing configuration.