Setting Your Weight Unit
Go to Settings → Weight Unit to choose between lbs and kg. This preference is saved to your account and syncs across all your devices.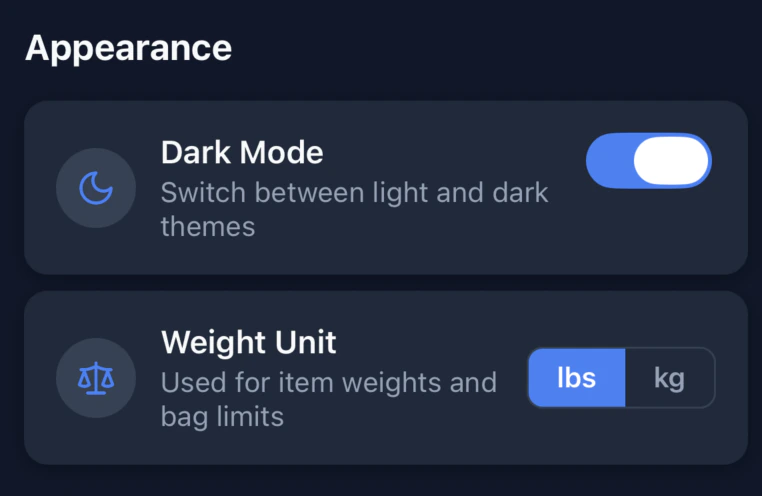
Adding Weight to Inventory Items
Every item in your inventory can have an optional weight. Weights are entered in the unit you select in Settings. To add or edit an item’s weight:- Open the Inventory tab.
- Tap the edit (pencil) icon on any item.
- Enter a value in the Weight field. Decimal values are supported (e.g.,
1.5lbs or0.7kg). - Tap Save.
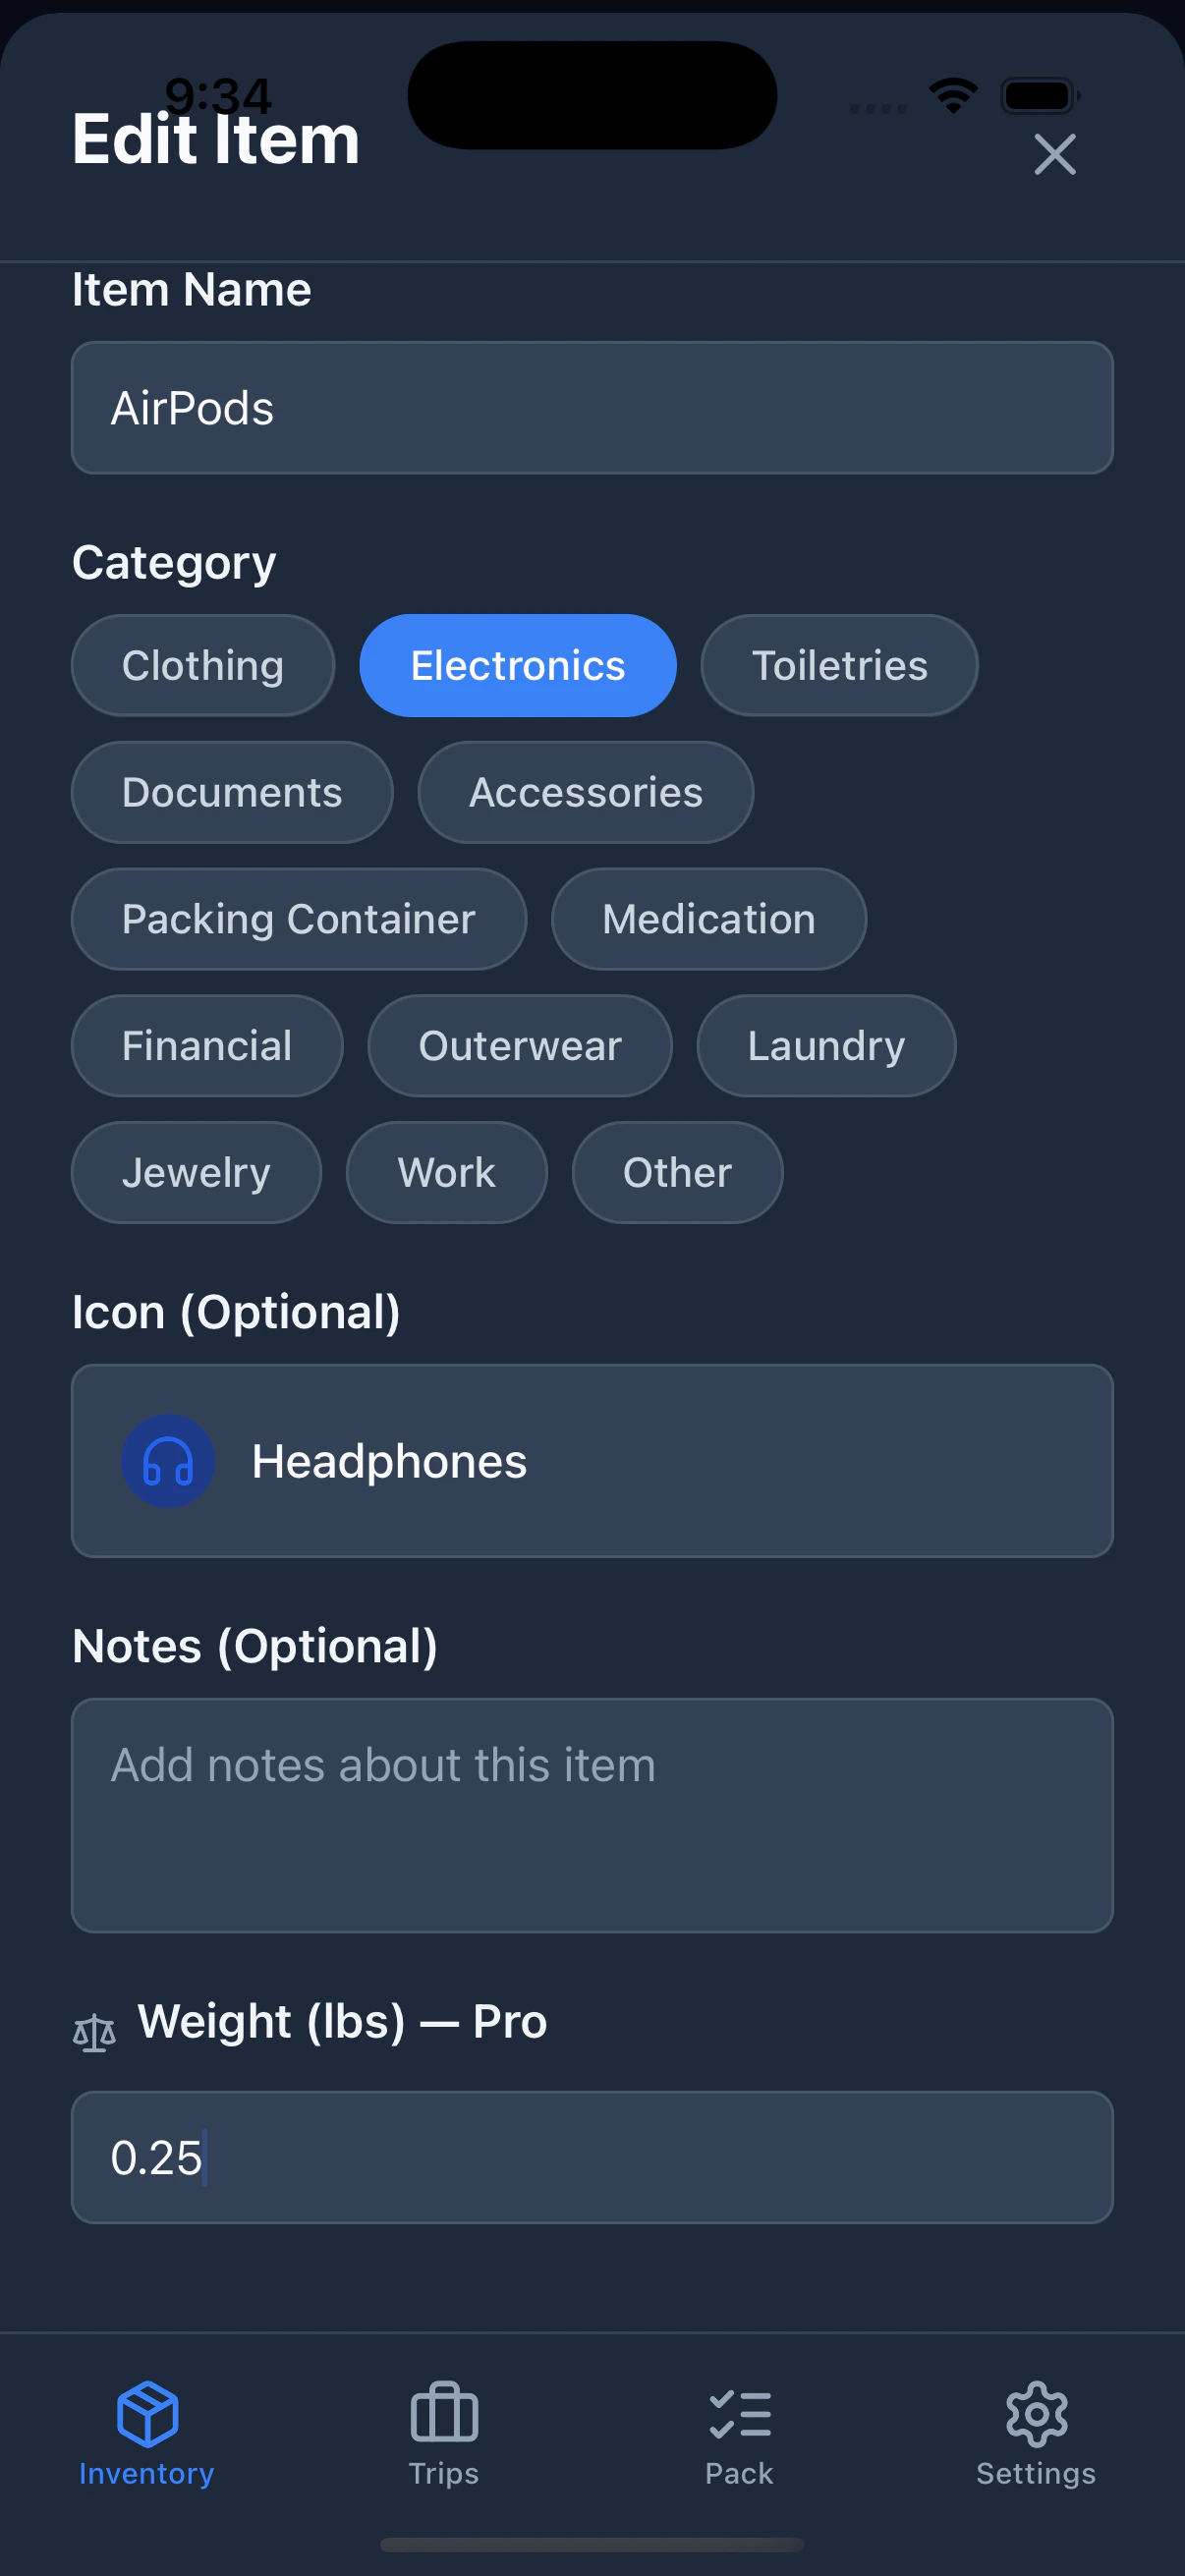
Weight tracking requires a PackKit Pro subscription. Tapping the weight field will show the upgrade screen if you aren’t subscribed.
Setting Weight Limits Per Trip
Each trip can have two independent weight caps — one for your checked bag and one for your carry-on. Airlines enforce different limits for each, and PackKit tracks them separately. Common limits for illustration only — always confirm with your carrier:
To set weight limits on a trip:
- Open the Trips tab.
- Create a new trip or tap the edit icon on an existing one.
- Scroll to the Weight Limits section.
- Enter a value for Checked Bag Cap and/or Carry-on Cap.
- Save the trip.
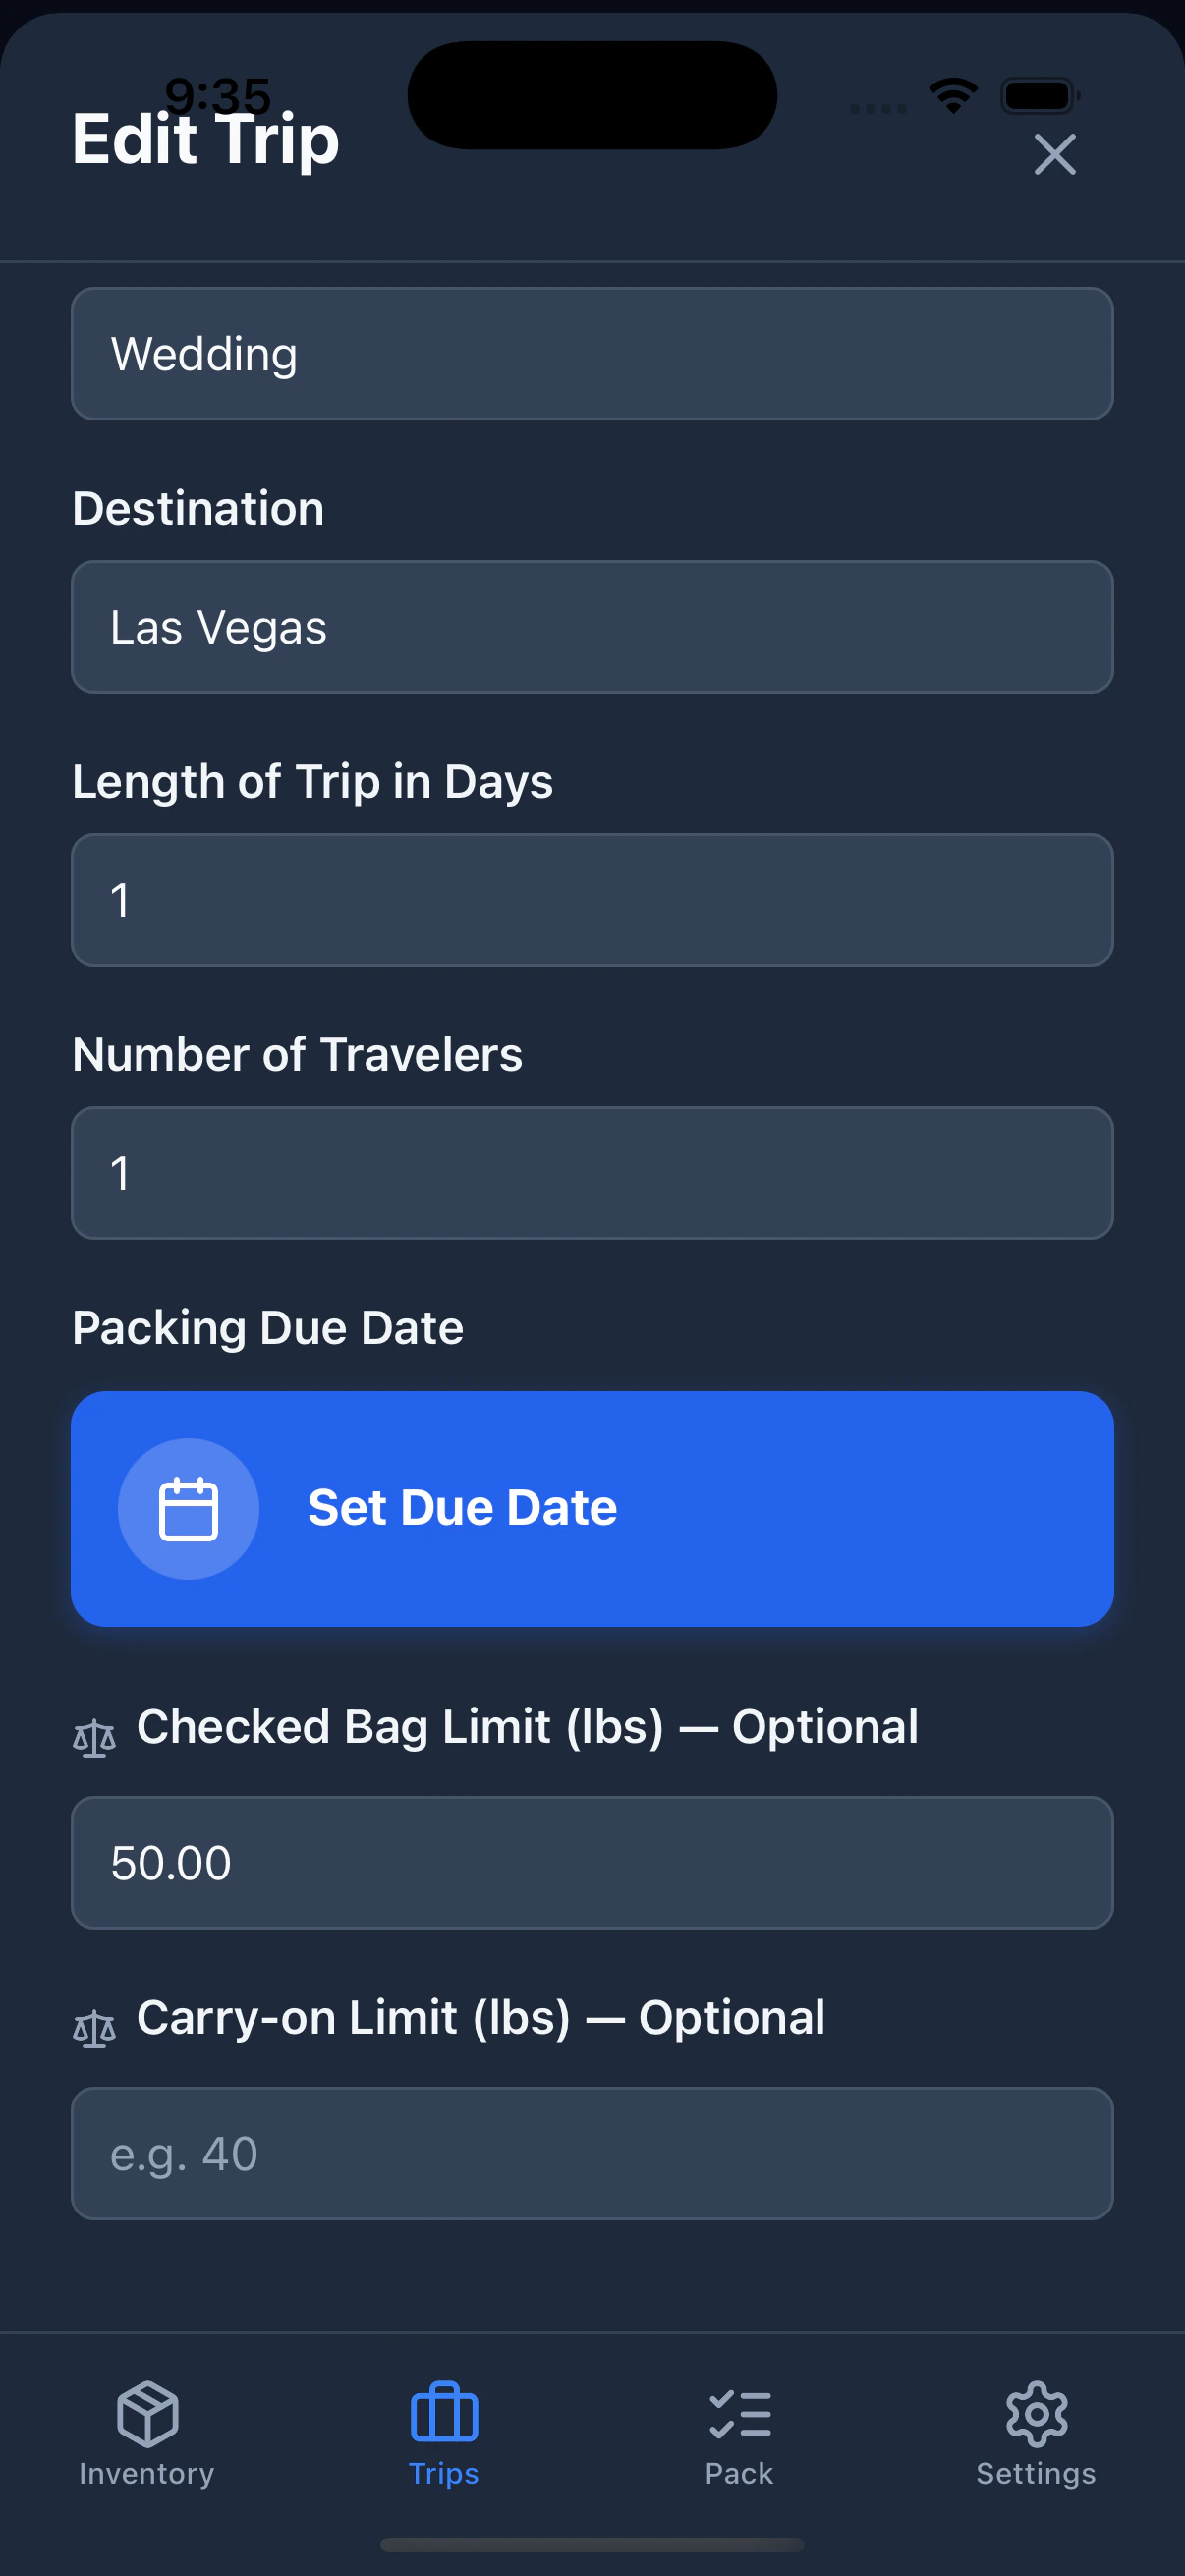

Weight limits require a PackKit Pro subscription.
Weight Indicators in the Pack View
When you’re actively packing (the Pack tab), each bag header shows its total weight — the combined weight of every item inside it, including the bag itself and any nested containers, if their weights have been entered in your inventory.Color coding
The weight label changes color based on how close you are to the applicable cap:
If no cap is set for that bag type, the weight is shown in gray.


Nested containers
If you pack a container inside another container (e.g., a toiletry bag inside a suitcase), the inner container also shows its own total weight inline. That weight is included in the parent bag’s total and uses the same color thresholds.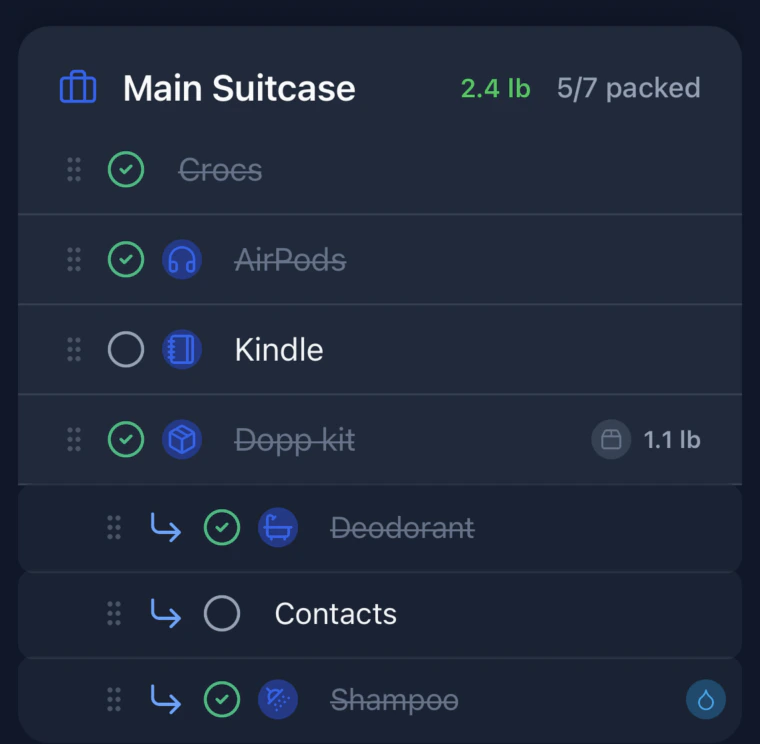
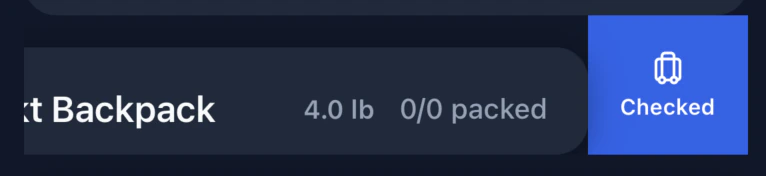
Checked vs. Carry-on Bags
PackKit applies the appropriate weight cap based on whether a bag is checked or carry-on. All bags start as carry-on by default. To change a bag’s type, swipe left on any bag header to reveal the toggle action:- If the bag is currently carry-on, the action shows “Checked” in blue.
- If the bag is currently checked, the action shows “Carry-on” in teal.
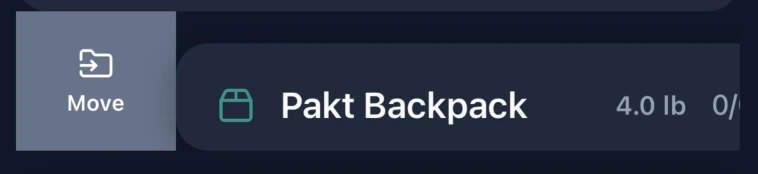
Moving a Bag
To move a bag to a different container, swipe right on any bag header to reveal the Move action. Tap it to open the container picker.