Creating Your Account
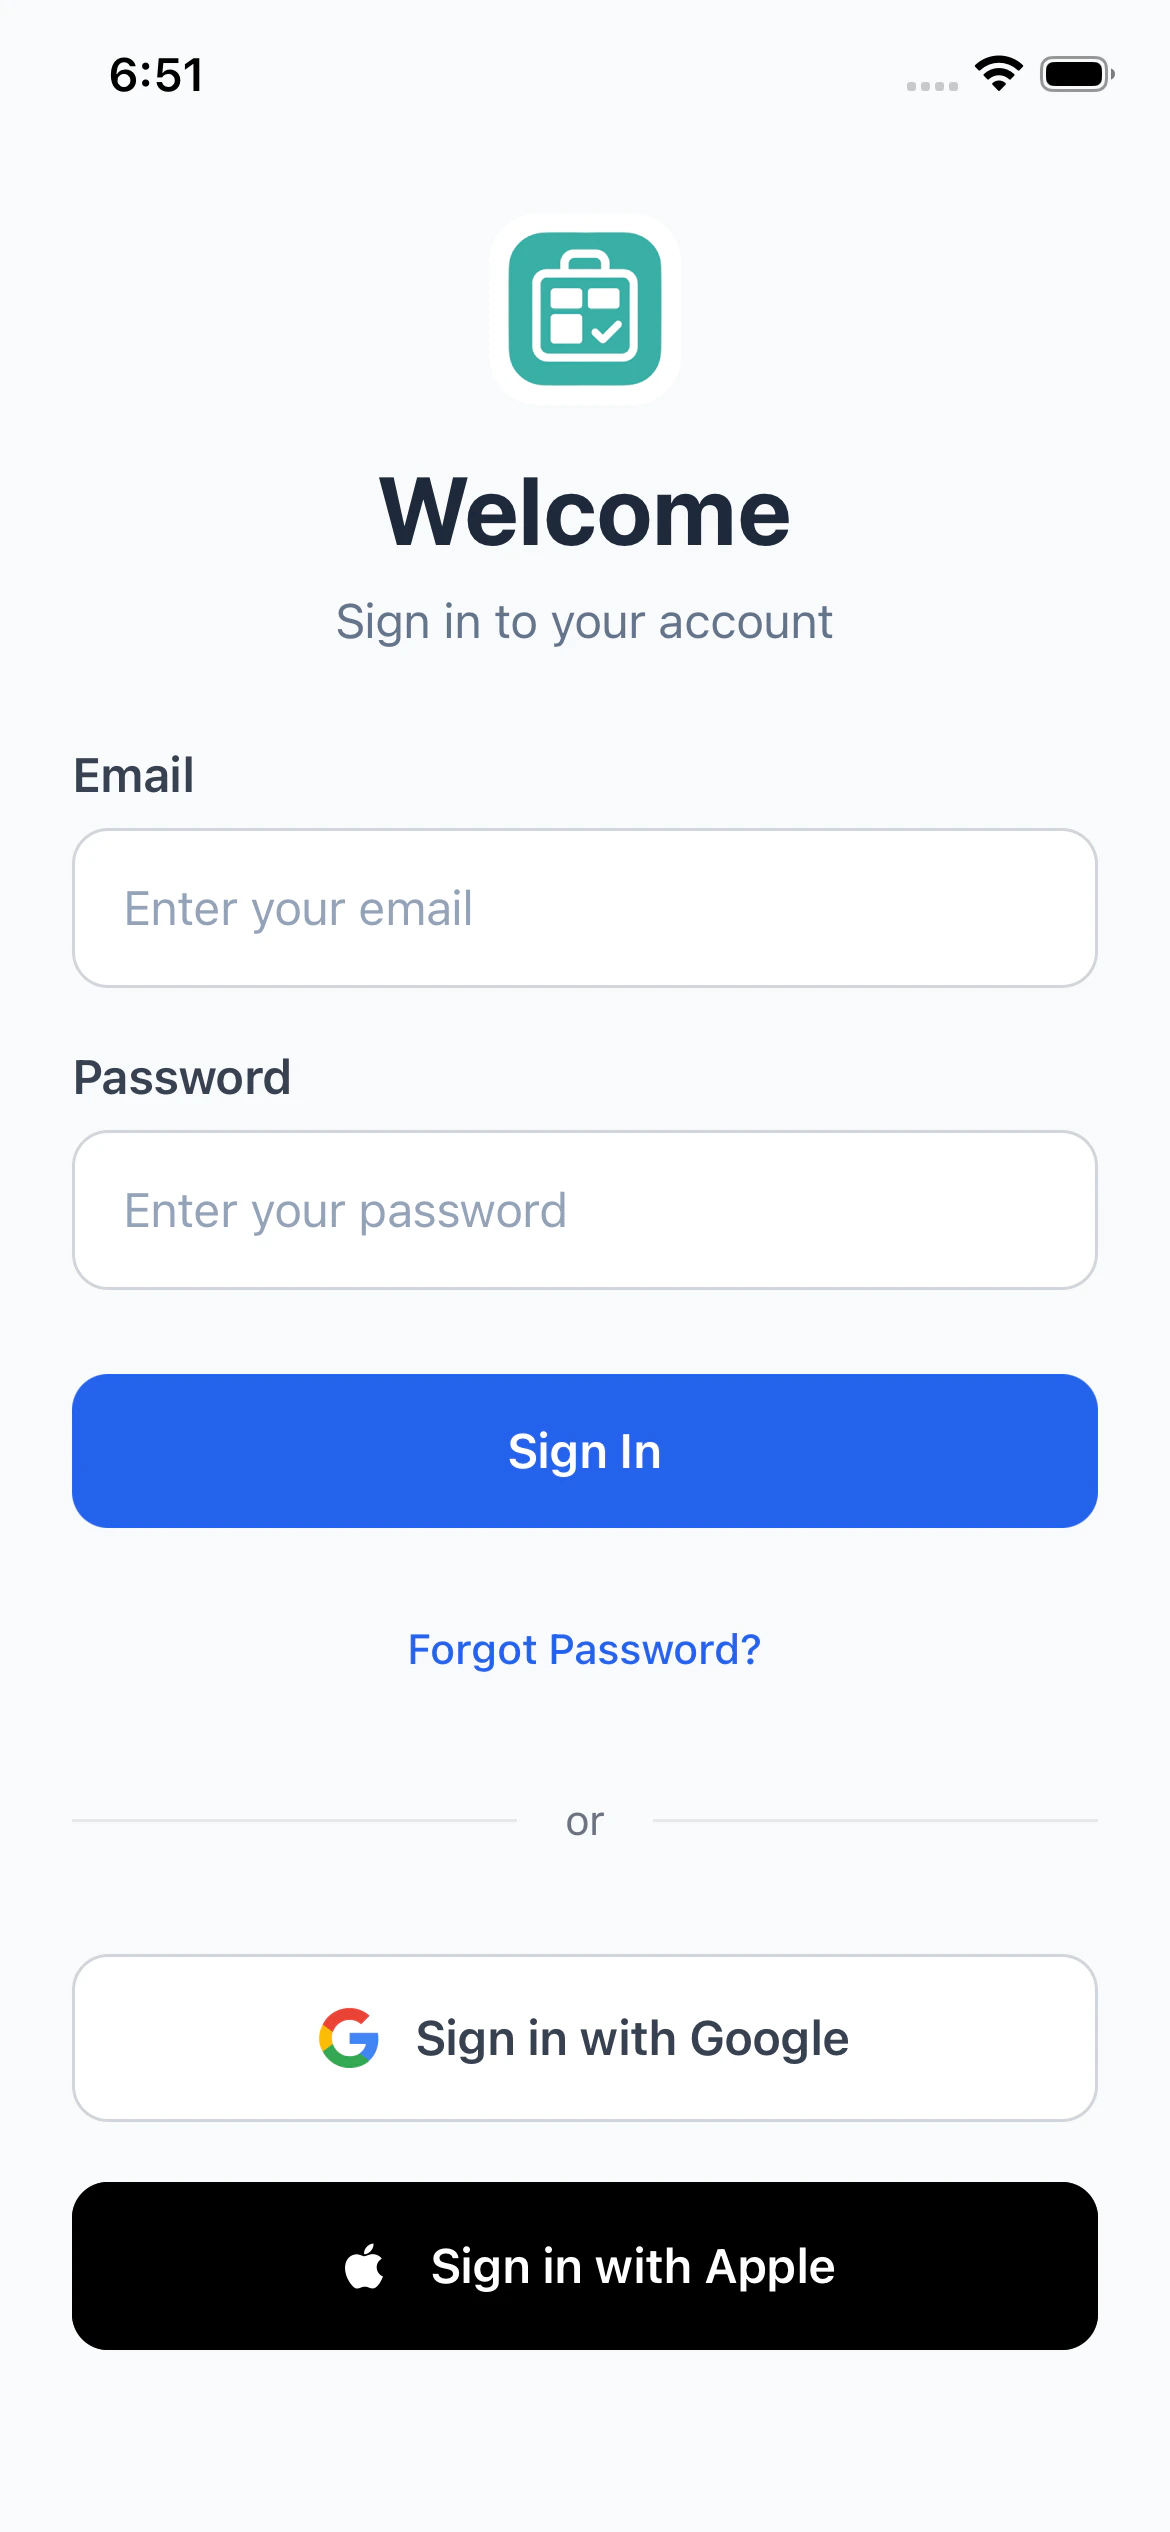
PackKit supports three ways to sign up. All methods create the same account and give you full access to the app.Sign In with Apple
The fastest way to get started on iPhone. PackKit will display “Completing sign in…” briefly while your account is verified.- Tap Sign in with Apple on the welcome screen.
- Authenticate with Face ID, Touch ID, or your Apple password.
- Choose whether to share your real email address or use Apple’s private relay.
- PackKit creates your account automatically.
Sign In with Google
- Tap Sign in with Google on the welcome screen.
- A browser window opens. Choose your Google account.
- Approve the permissions and return to the app.
Email & Password
- Tap Create an account on the welcome screen.
- Enter your email address and choose a password (minimum 6 characters).
- Tap Sign Up.
- Check your inbox for a 6-digit confirmation code.
- Enter the code in the app to verify your email.
Your First Time In
When you sign in for the first time, PackKit fills your account with sample data, so you can see how the app works before you add your own gear:- Example inventory items: clothing, documents, electronics, toiletries, sunglasses and bags, each with a weight. They include a carry-on liquid that shows the TSA liquid badge.
- A sample trip, “Weekend Getaway”: it starts two weeks after the day you sign up and is already the active trip, so the Pack tab has something to show. Its items are packed into containers, with a laptop bag inside a backpack and a suitcase marked as a checked bag.
- See the example items organized by category
- Tap an item’s pencil icon to edit it
- Add your own items with the + button, or add a whole list at once with bulk add
The Four Tabs
PackKit is organized into four tabs at the bottom of the screen: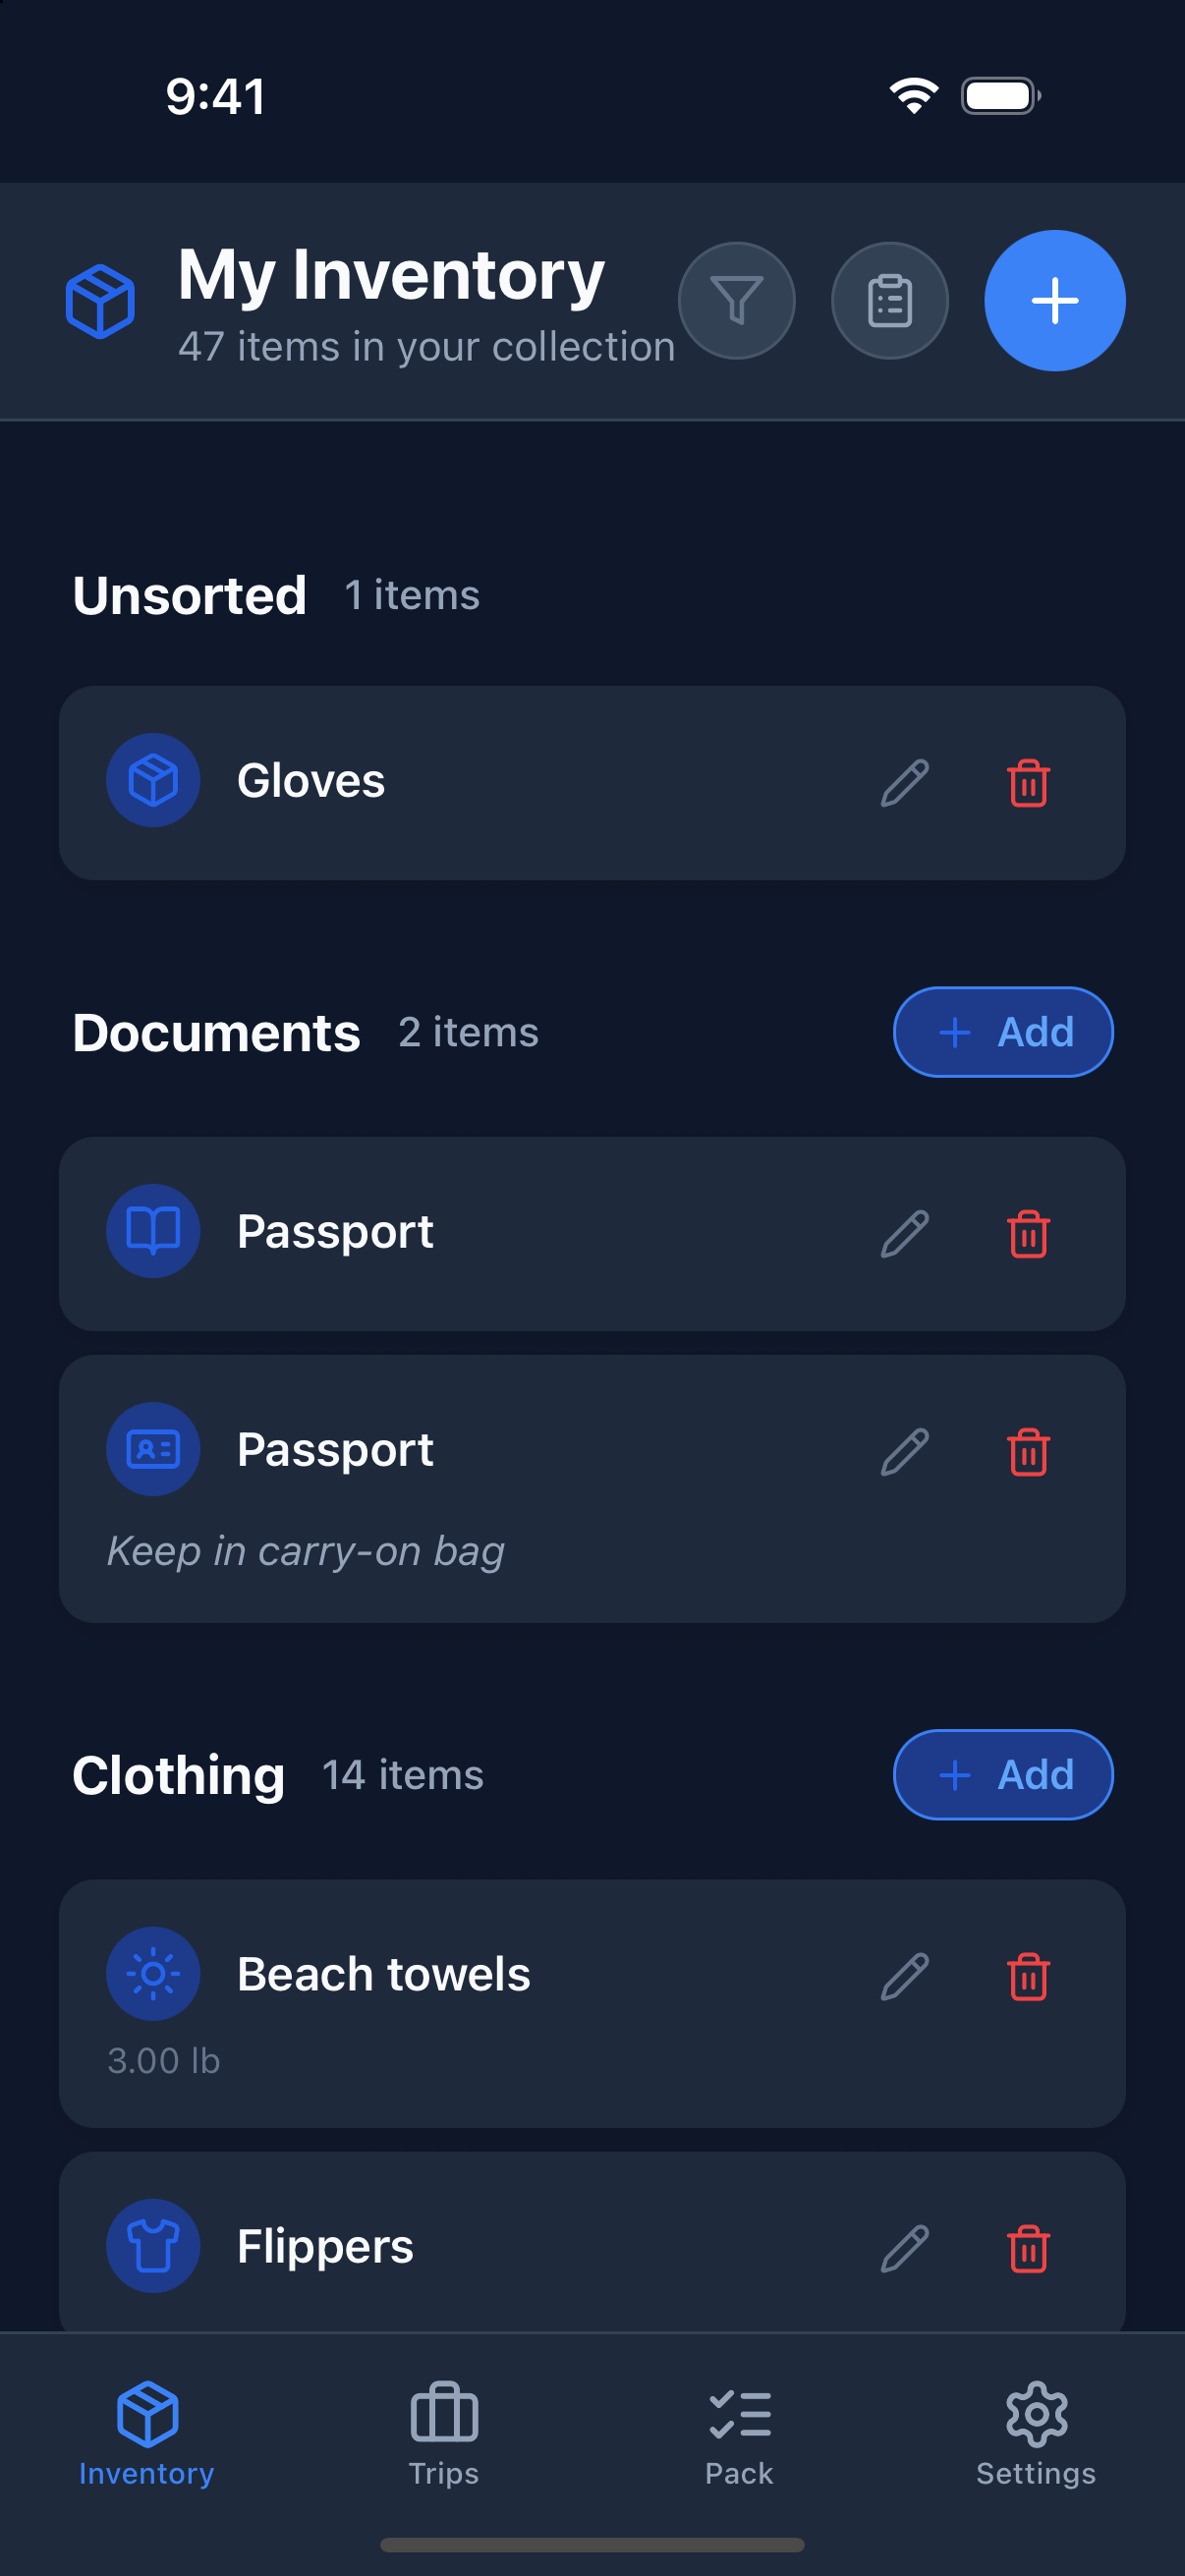
Basic Workflow
- Build your inventory. Add the items you own once.
- Create a trip. Set a destination, dates, and number of travelers.
- Add items to the trip. Pull from your inventory and organize them into containers.
- Pack. Open the Pack tab and check items off as you go.
- Save as template. If it was a great list, save it for next time.
Dark Mode
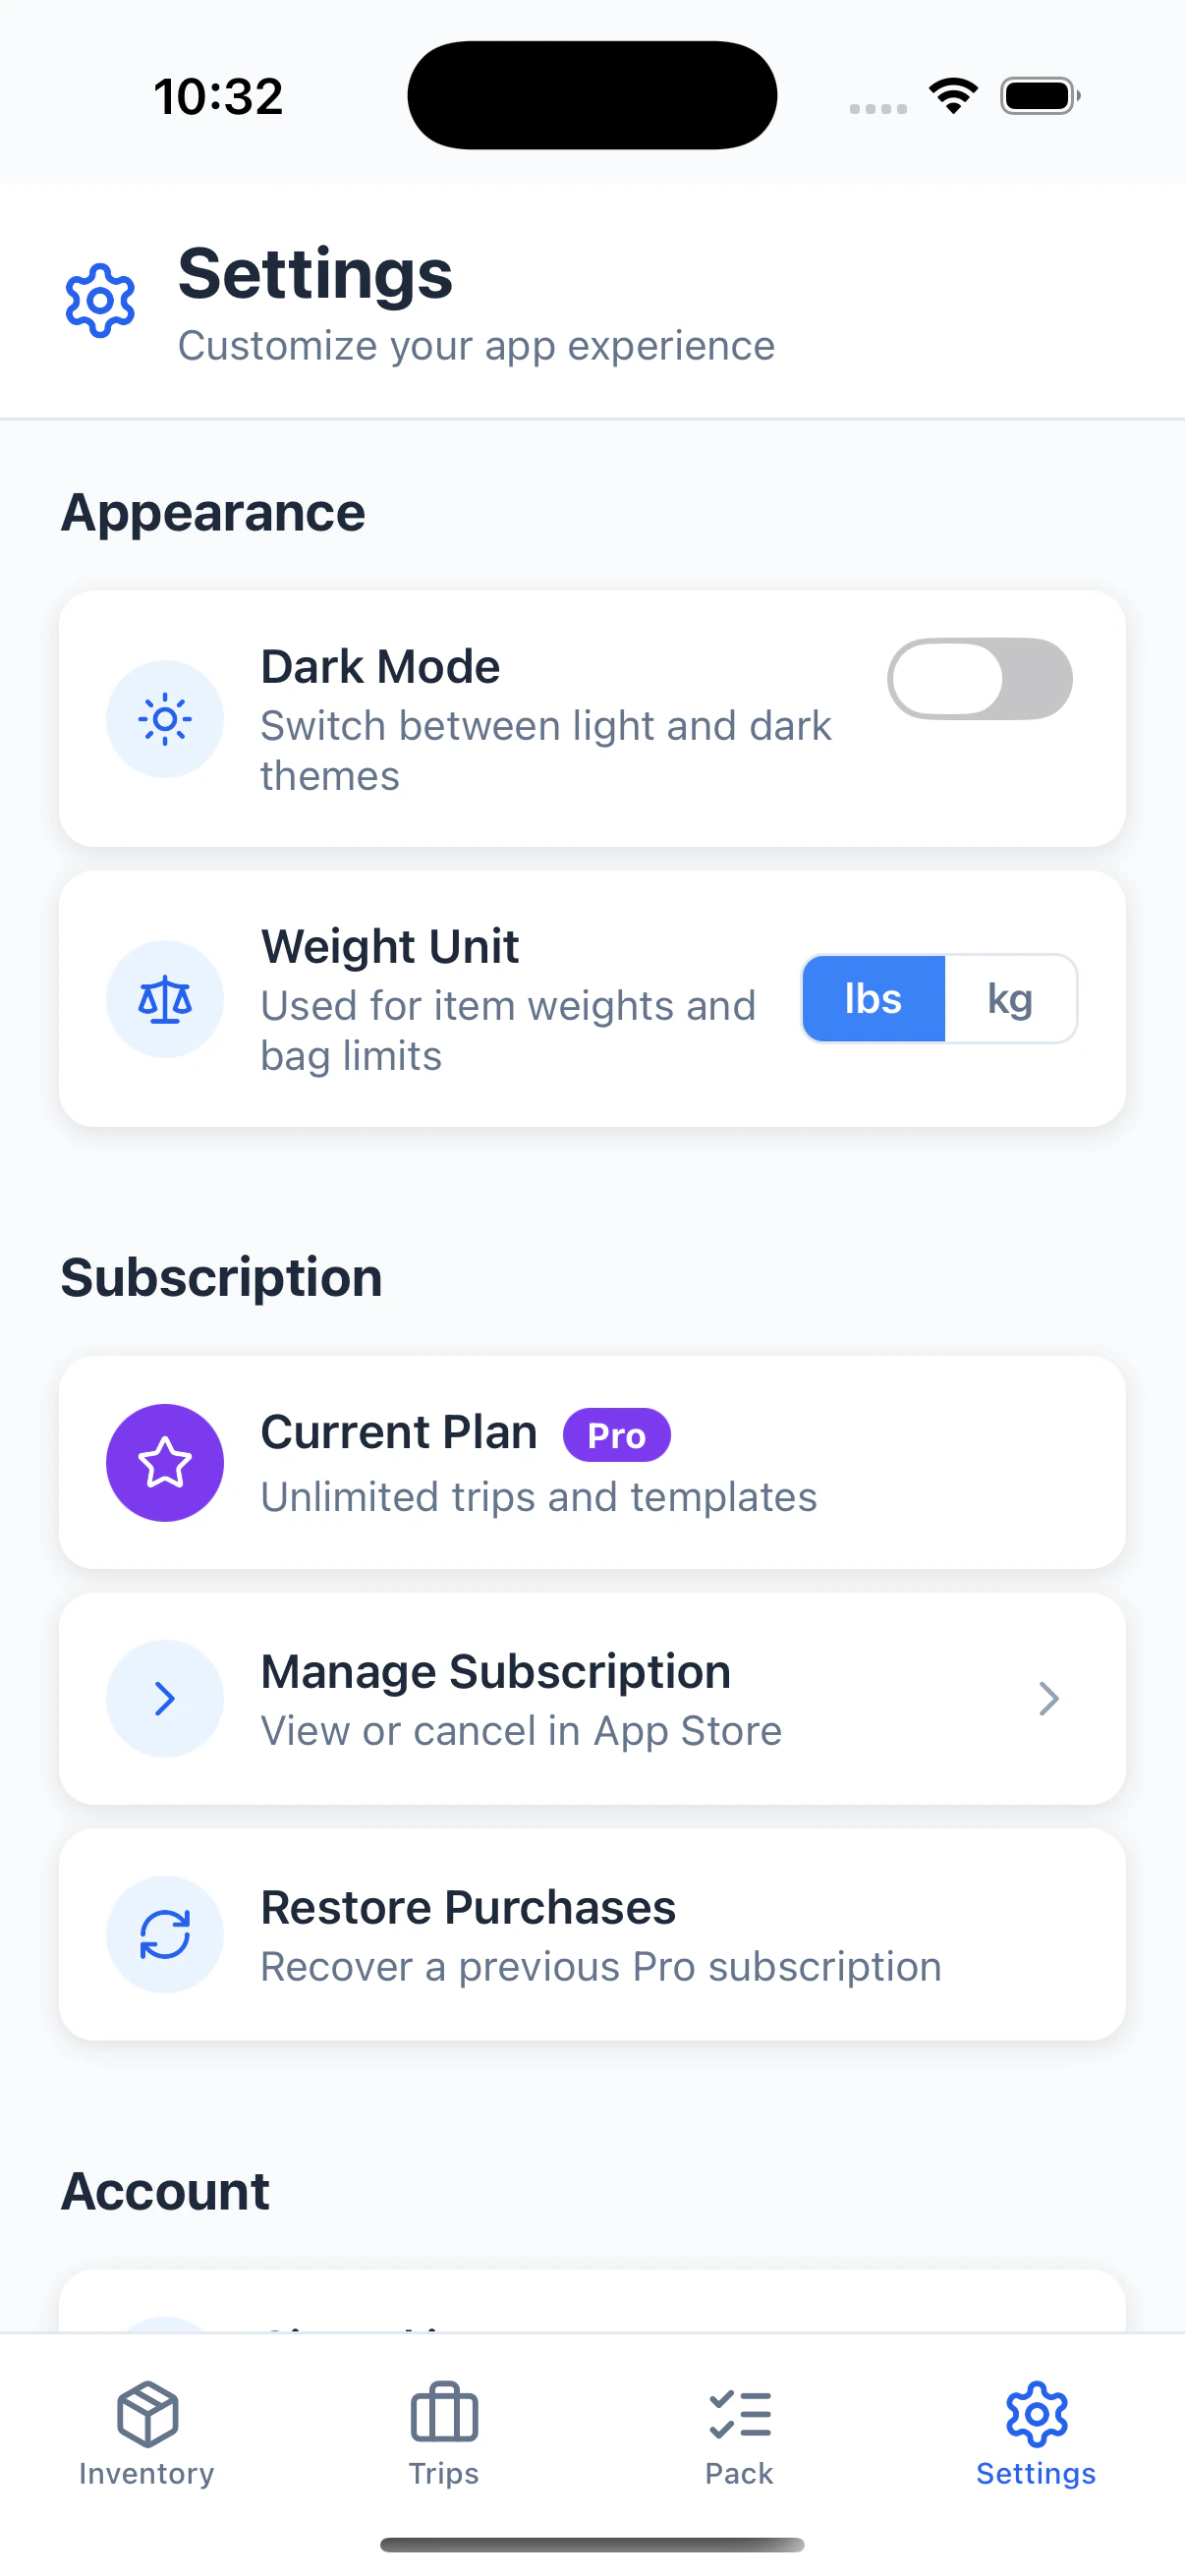
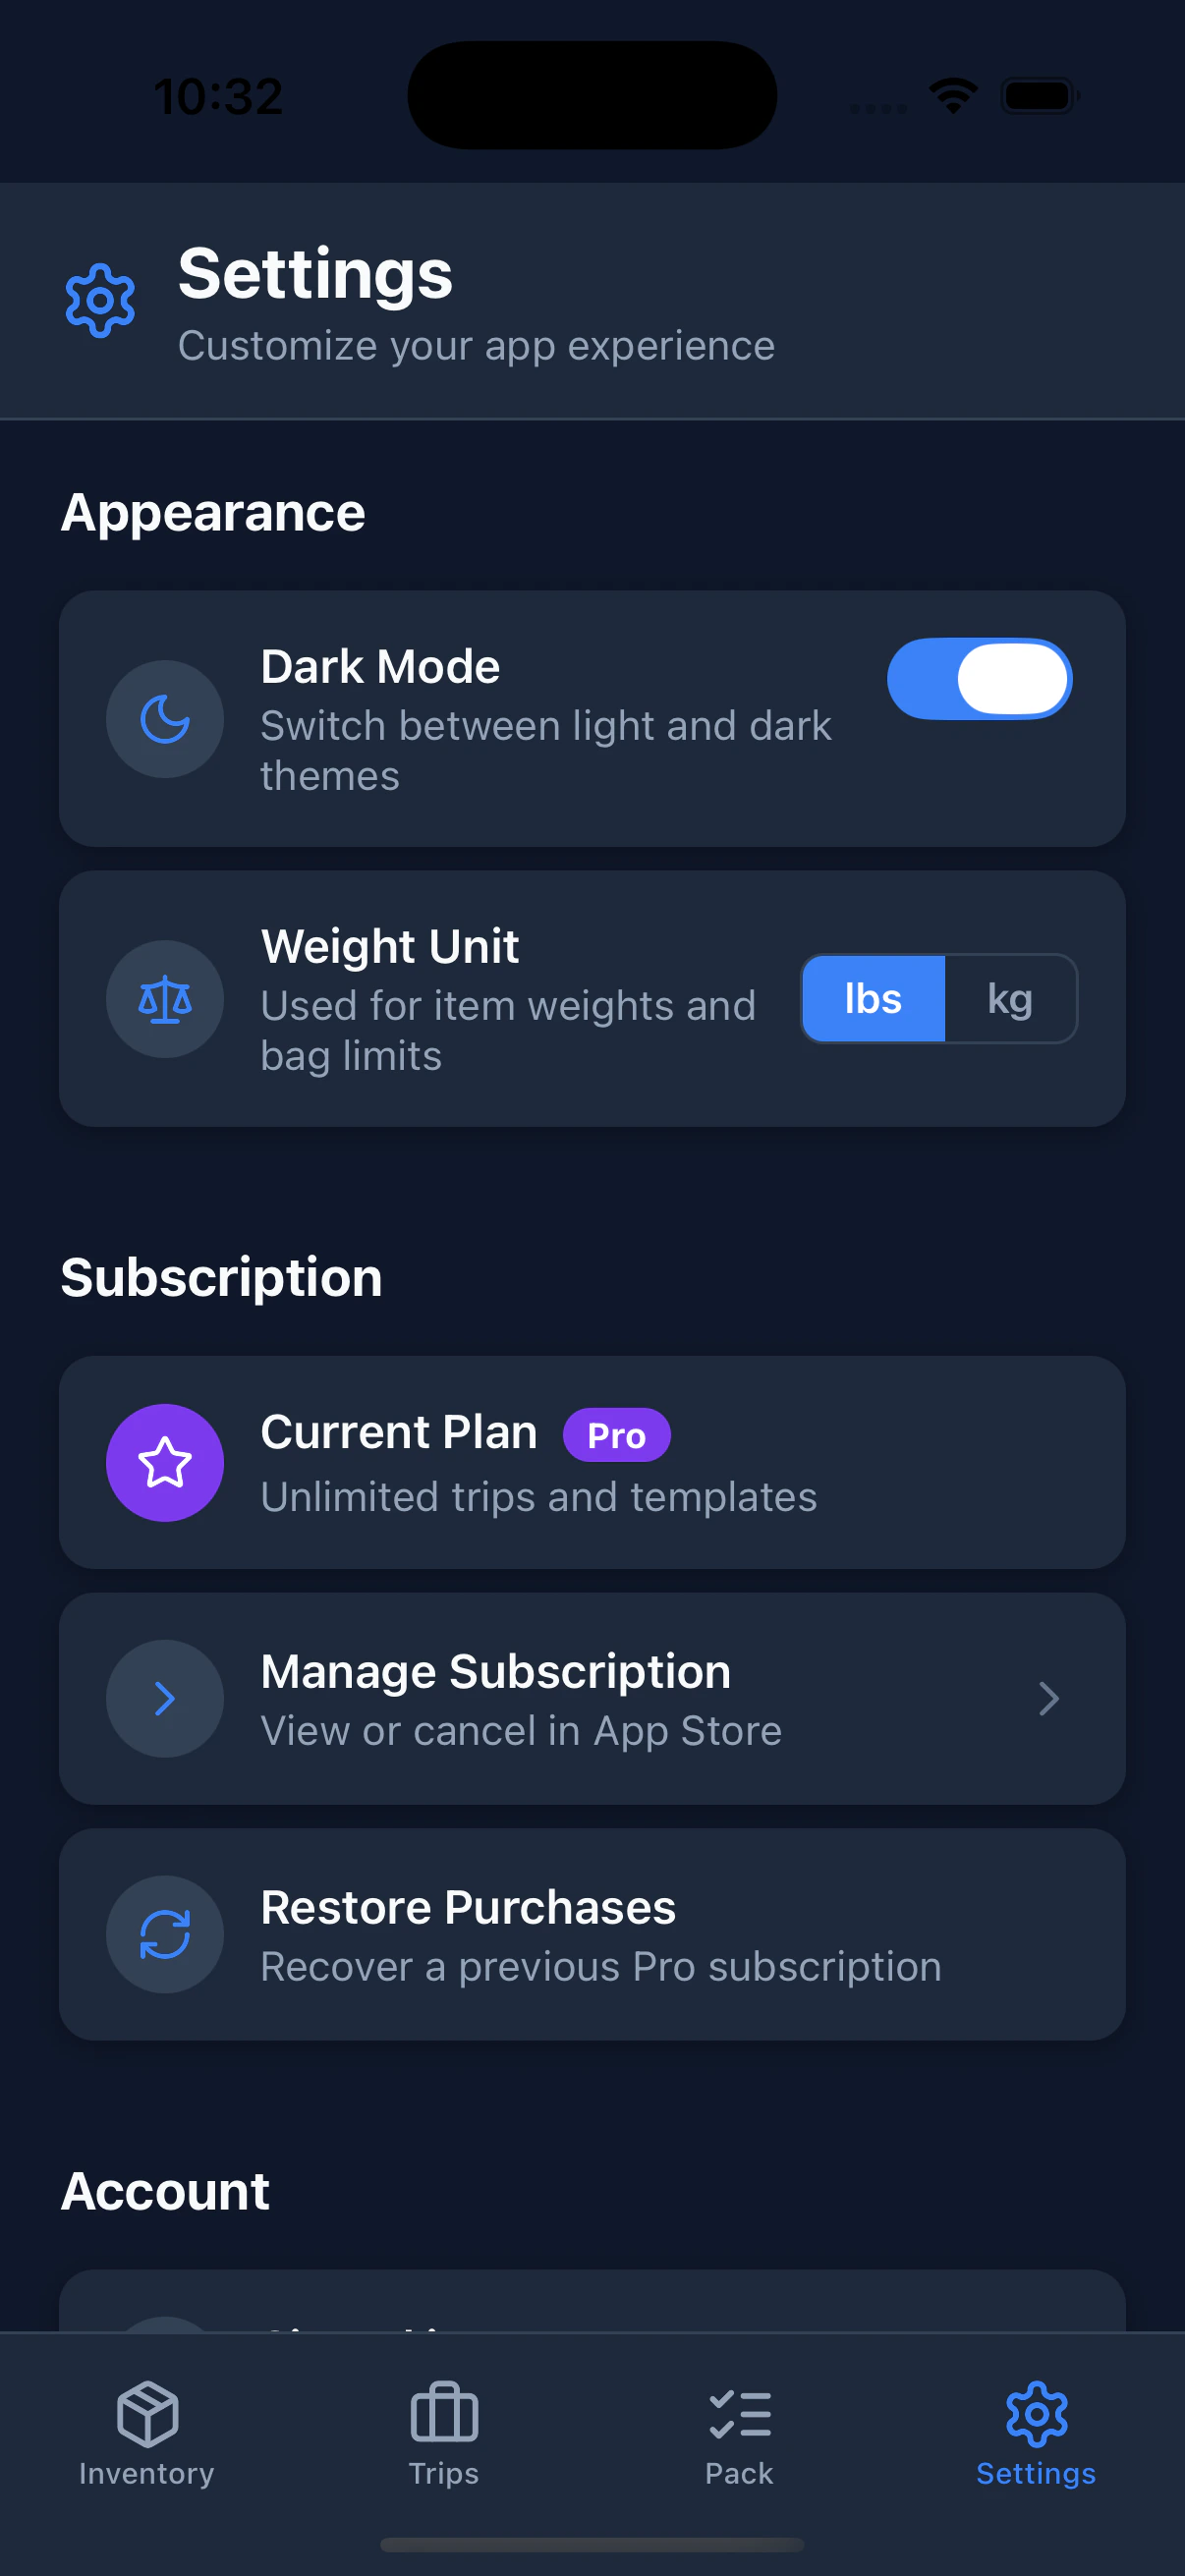
PackKit supports dark mode. Toggle it any time in the Settings tab. Your preference is saved to your account and persists across devices.